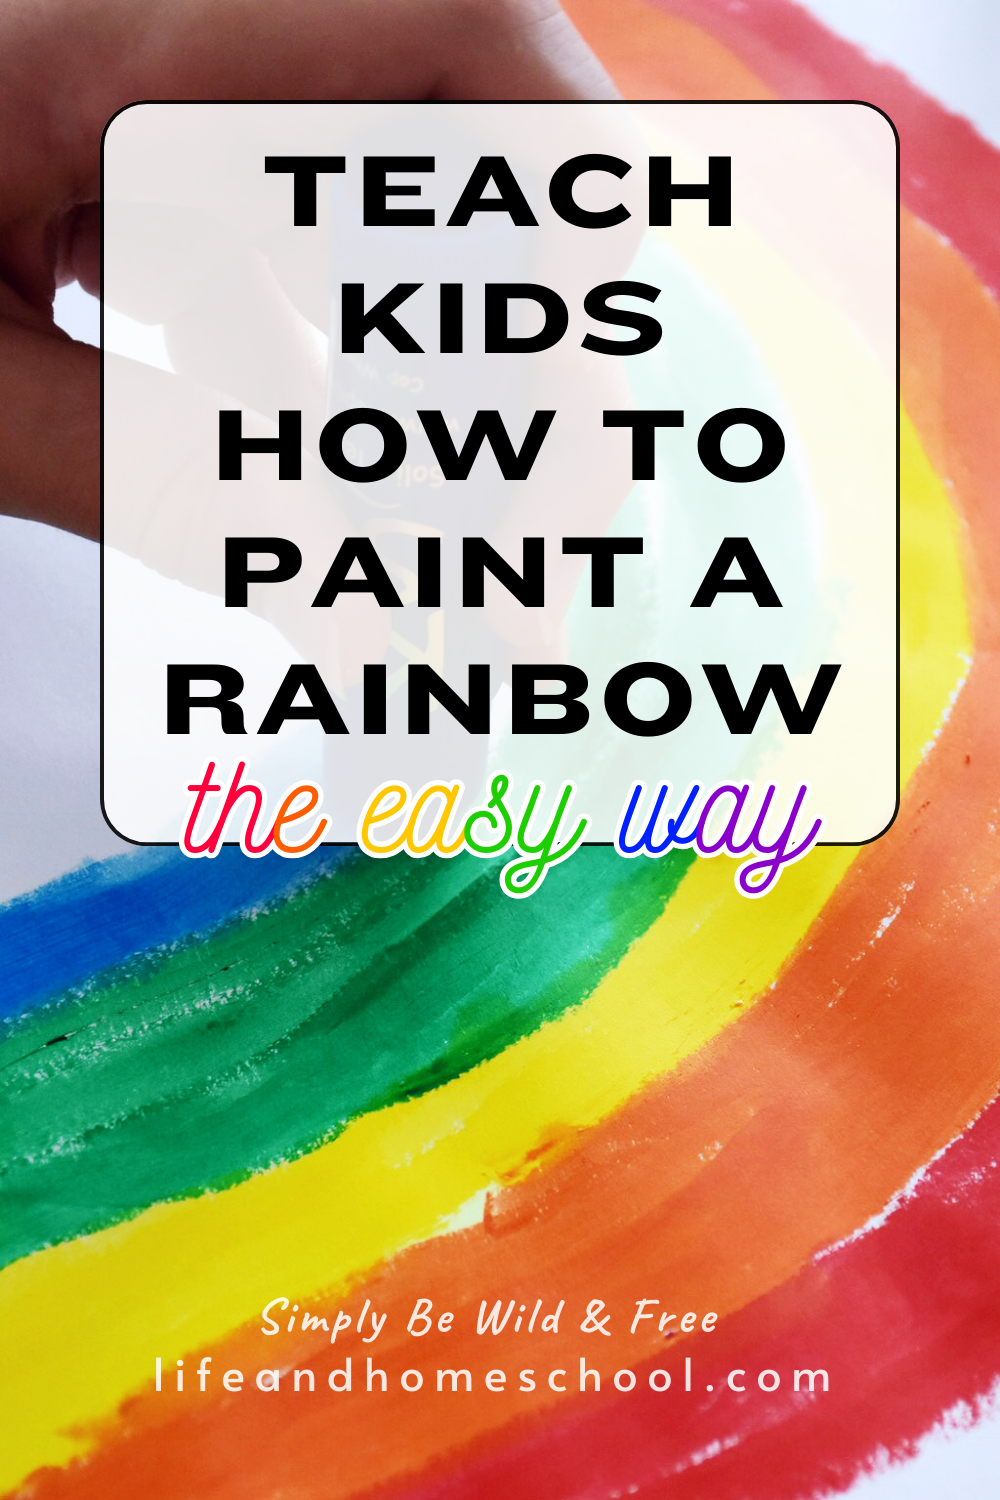
Teaching kids to paint a rainbow is one of my favorite activities for little ones!
The Significance of the Rainbow
The rainbow is an important symbol in Christianity and its appearance acts as a simple reminder that we serve a God who keeps his promises.
I set My rainbow in the cloud, and it shall be for the sign of the covenant between Me and the earth. Genesis 9:13
God shows us grace even when we are undeserving.
What an incredible blessing and an amazing reminder.

All that said, because of their colorful uniqueness, kiddos love rainbows too!
They are a beautiful rarity that kids look forward to finding in the bright sky after a dark storm.
So, as you work on your rainbow painting project, I encourage you to not only teach your kiddos rainbow science, important rainbow facts, and the amazing spectrum of colors but to also teach them of Noah and the God who saves.
Teaching Kids How to Paint a Rainbow
Painting rainbows has always been a favorite spring activity in our home!
First, I taught my older boys and then my young daughter.
Now that my boys are practically grown and have left their rainbow art days behind, my 11-year-old is our current rainbow creator.
That said, the best (and easiest) way to teach children how to paint a rainbow is by teaching them ROY G BIV.
Red, orange, yellow, green, blue, indigo, and violet.
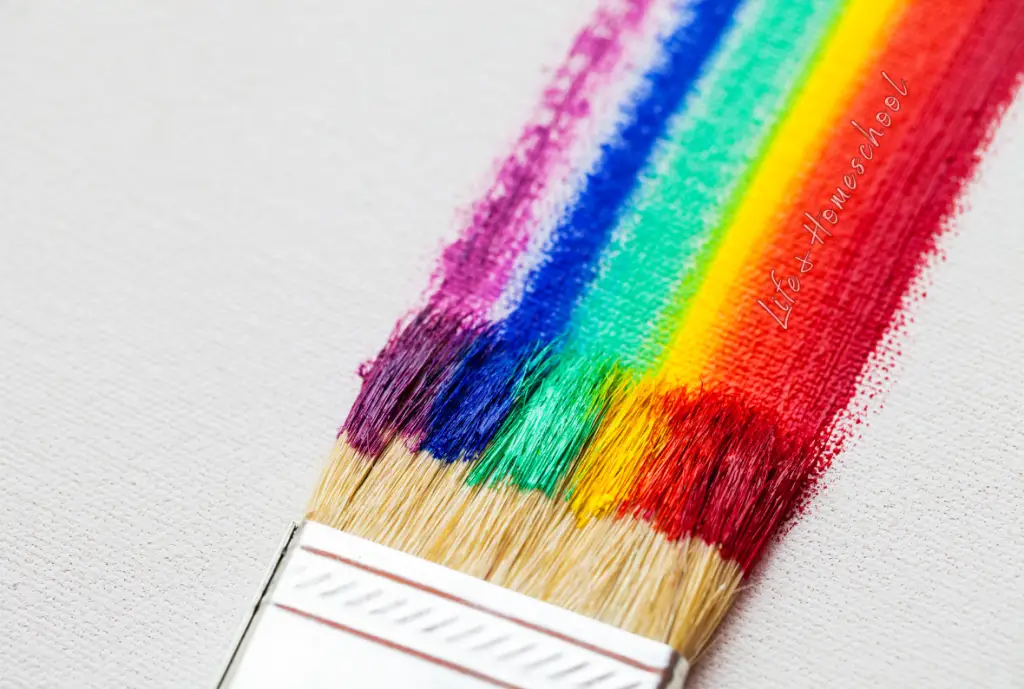
ROY G BIV is the method I learned in school and it’s how I taught my own children the rainbow color sequence.
However, if you have little ones, you can take a slightly more simple approach and lean on this fun rhyme instead.
Red, orange, yellow, green, blue! Don’t forget there’s purple too! Rainbow colors for me and you!
Quick Dry Rainbow Painting
Once, you’ve taught your children the rainbow color spectrum, it’s time to move on to painting the rainbow!
While I’m a huge fan of both simplicity and tradition, I always start this process on the side of simplicity.
First, I teach my children how to create a 6 color rainbow with quick-dry paints before moving on to more difficult (and messy) paints like watercolors or acrylics.
Note: we skipped indigo for our primary rainbow project simply because it’s not always an easily obtained color, plus it can appear naturally as colors overlap during paint projects. Consider creating a larger blue arch and layering it with purple for your indigo.
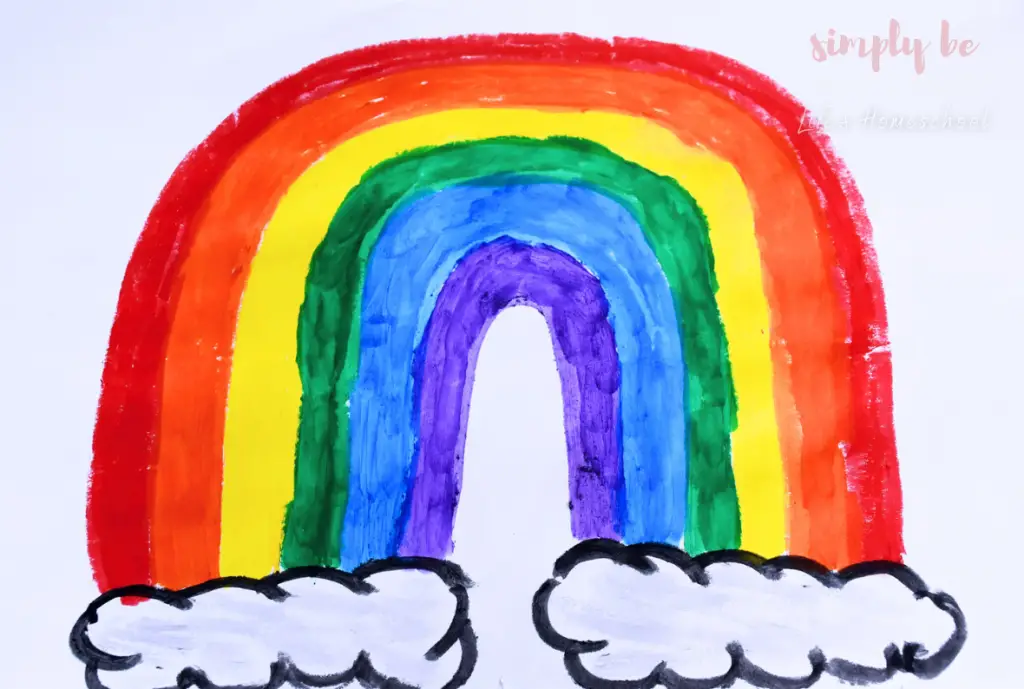
My son’s quick-drying rainbow art project!
While painting a rainbow seems like a no-brainer activity to the average adult, many children will need help creating one for the first time.
This is why I always suggest focusing on the quick-dry, no-mess method.
First, you will need everyday supplies such as paper or card stock (I always prefer cardstock for craft projects).
Then, you will need some simple paint sticks.

These paint sticks are awesome because they have the feel of a glue stick but come out in vibrant paint colors instead.
Plus, young children who are still learning how to draw and write can easily create a masterpiece with little to no mess while working on important motor control skills.
Once you have your craft supplies, it’s time to move on to creating!
Start by teaching your children to create a large upside-down U shape on their paper, using the first color of the rainbow (red).
I prefer the U shape over the traditional narrow arch shape simply because younger children can master it more easily (and usually quicker too).
That said, you can definitely encourage them to do a more narrow shape if you prefer.
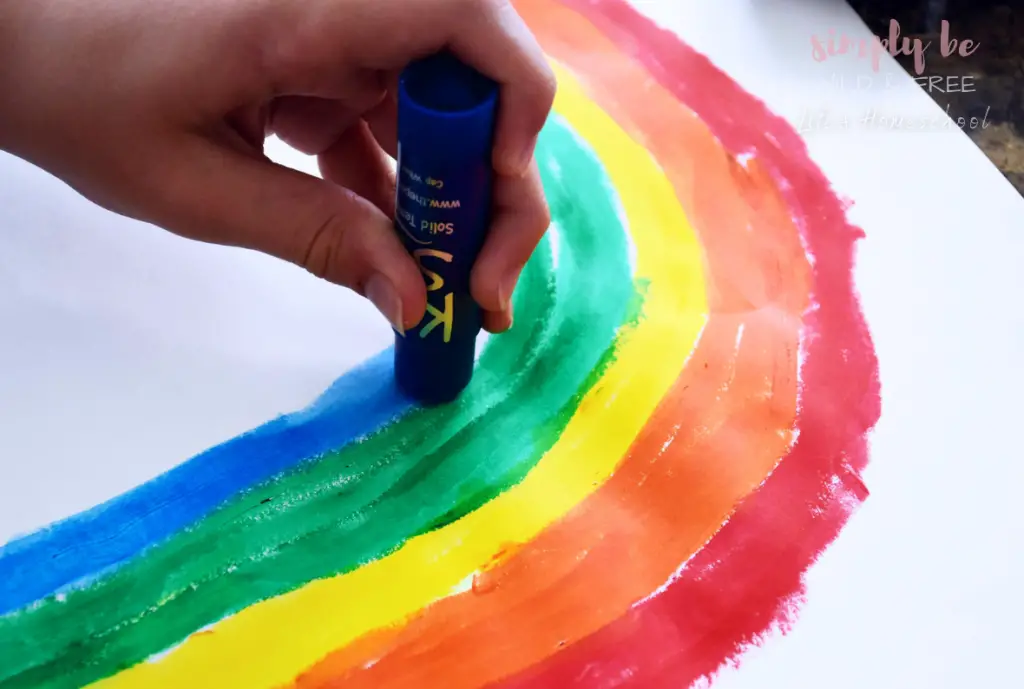
I tend to start with U and help them graduate to a more traditional arch shape over time.
That said, starting with the color red is also key to creating a great first rainbow.
Not only is it important to start with red to help children remember the rainbow color sequence, but it’s also important for helping children complete their art in their given space.
For example, if you start with the last color of the spectrum (purple or violet), children may create too large of an arch and run out of room for the final few colors!
Definitely not something you want to happen on their first go.
Finally, have kiddos continue adding to their rainbow by using their paint sticks with each color of the rainbow.
It truly is a simple process that can be built upon and transformed into wonderful pieces of art as their skills grow!
Paint a Rainbow Using Traditional Paints
While I’m not an artist and don’t have a beautiful example of a traditionally painted rainbow to show you, I do think it’s incredibly important to teach young children to experiment with different art mediums from time to time.
One of the first mediums we tackle in our homeschool is watercolors.
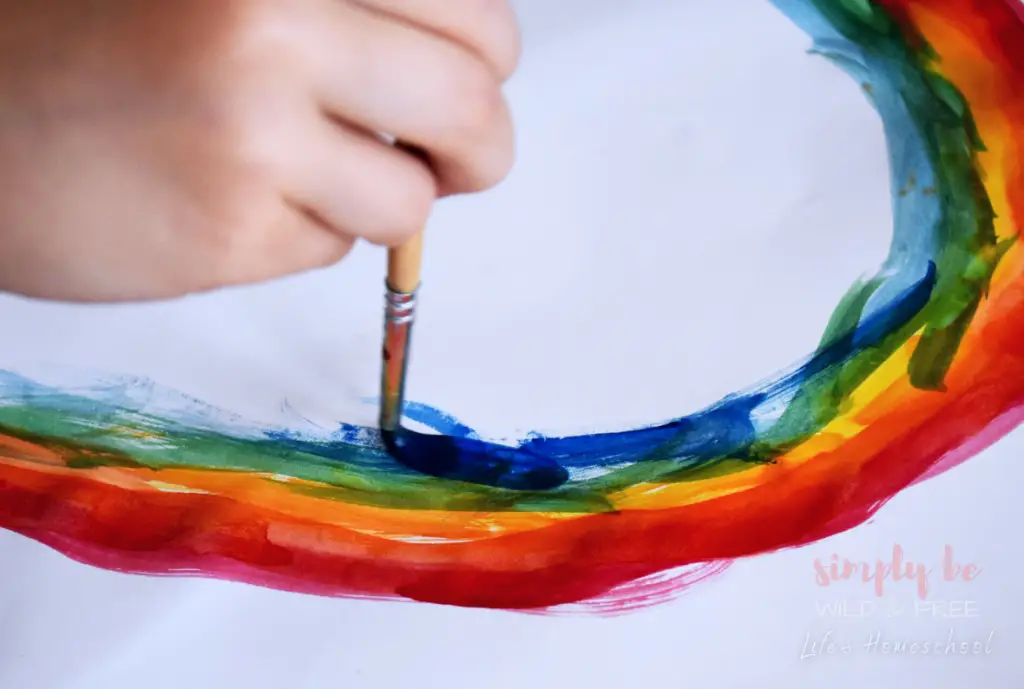
Again, you can use everyday materials such as paper or card stock.
However, if you find that your kiddos thoroughly enjoy using watercolors, I would definitely suggest purchasing watercolor paper.
Watercolor paper will absorb the paints better creating a better work of art (without the crinkly effect you get from traditional paper).
Also, you will need high-quality watercolors or washable paints.
Personally, I don’t lean on other art mediums until my children have mastered using the paint sticks first.
Then, when it’s time to start the process of learning watercolors, we begin again, with the painting of a rainbow.
At this point, they will have mastered the rainbow sequence of colors and can likely create a beautiful arch shape on their own.
Once, your kiddos have tried paint sticks and watercolors, consider having them move on to other washable paints and acrylics to find their favorite.
Painting rainbows in different mediums is a fun activity for all ages, you guys!
Paint a Rainbow Using a Template
While painting a rainbow the traditional way is an important skill to master, sometimes learning to paint using a template can be equally important.
The great thing about templates is that you truly can use them at any stage.
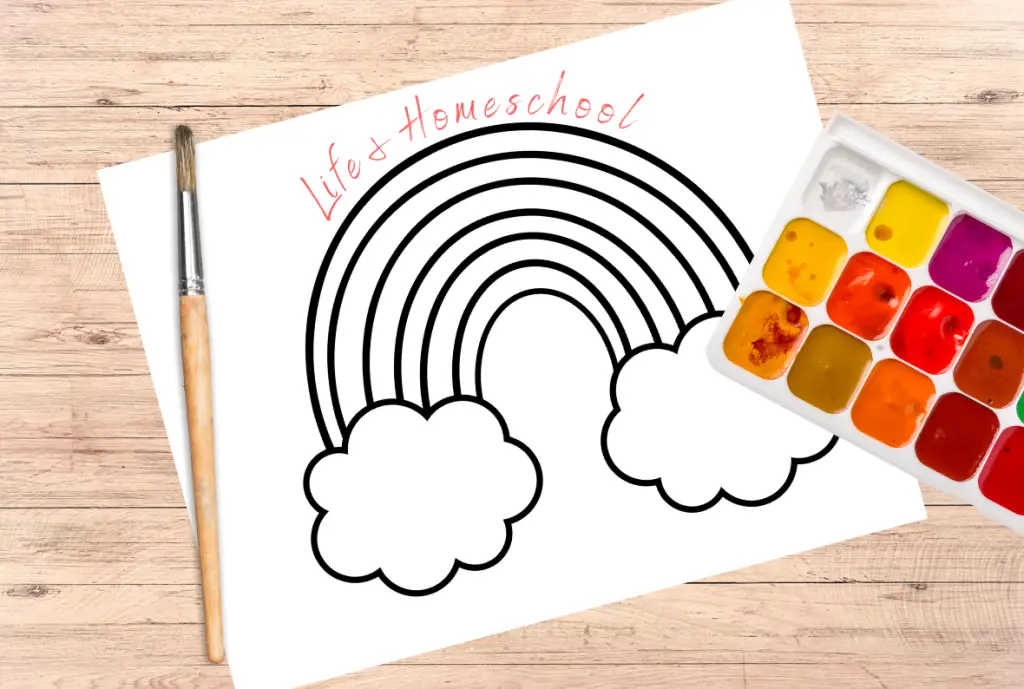
If you have little ones who aren’t quite coordinated enough for paint just yet, you can lean on the paint sticks with your template or turn this template into a coloring page by sticking to simple art supplies like crayons instead.
However, if you have older kiddos who need to practice their watercolor or acrylic skills, they can practice blending colors or staying in the lines by painting their rainbow temples!
All that said, I highly suggest printing your template on thicker paper or cardstock before pulling out the paints.
More Artsy Fartsy Fun
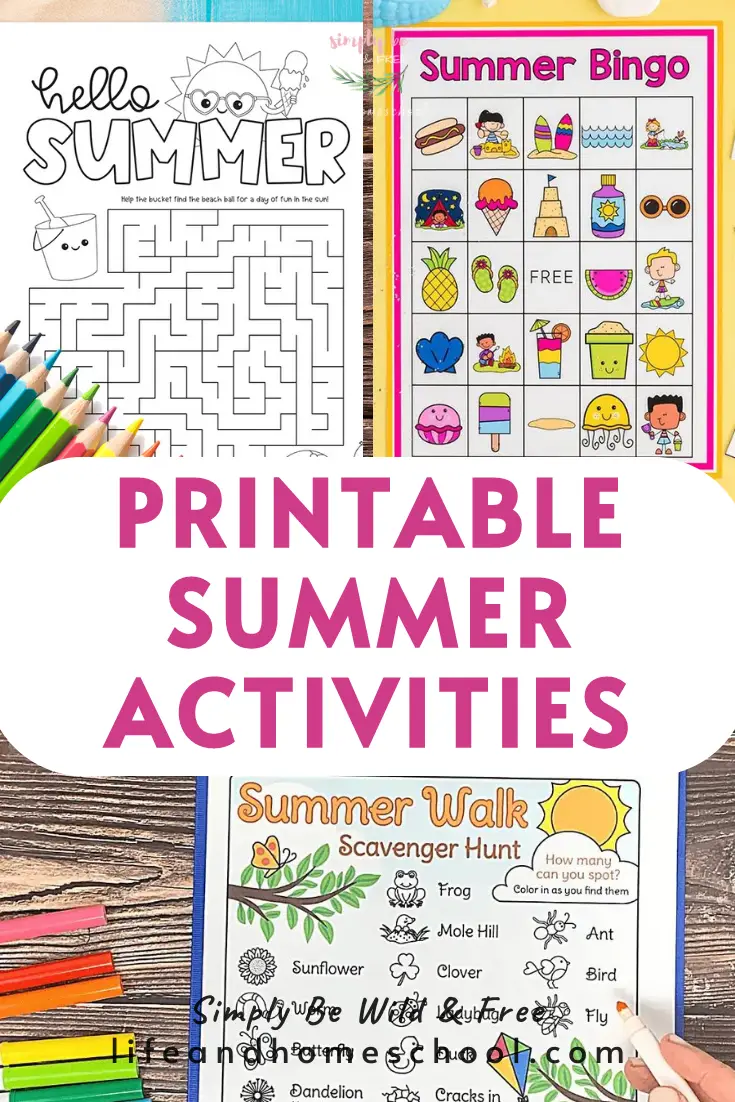
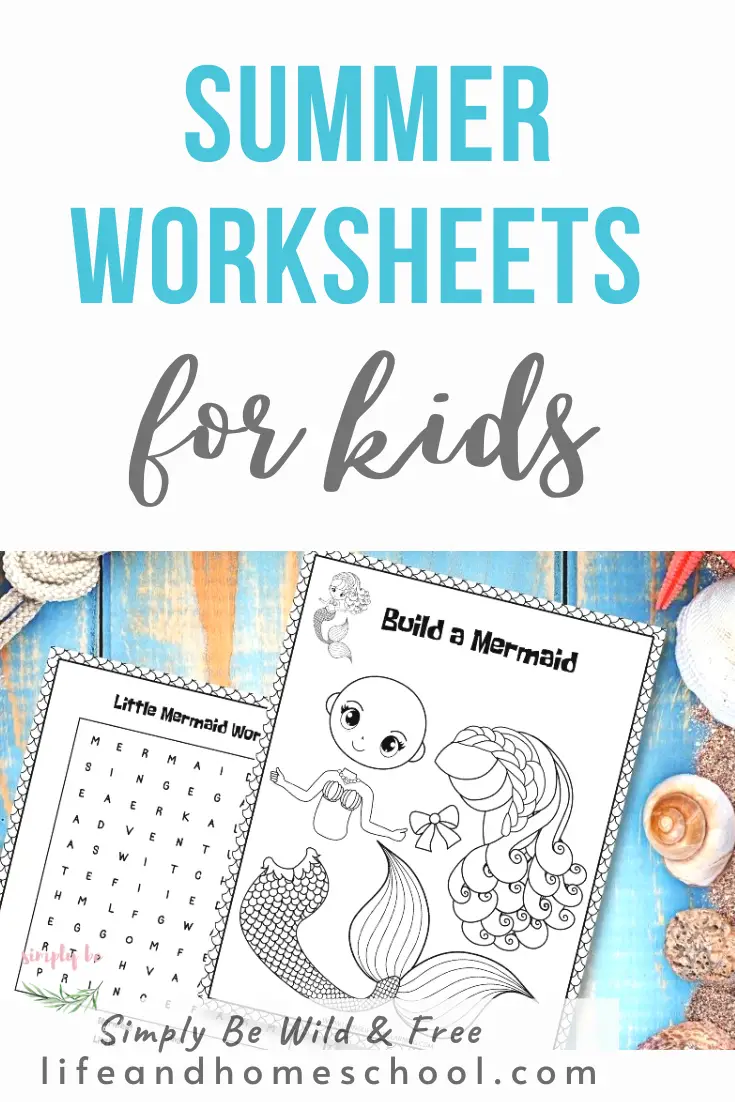
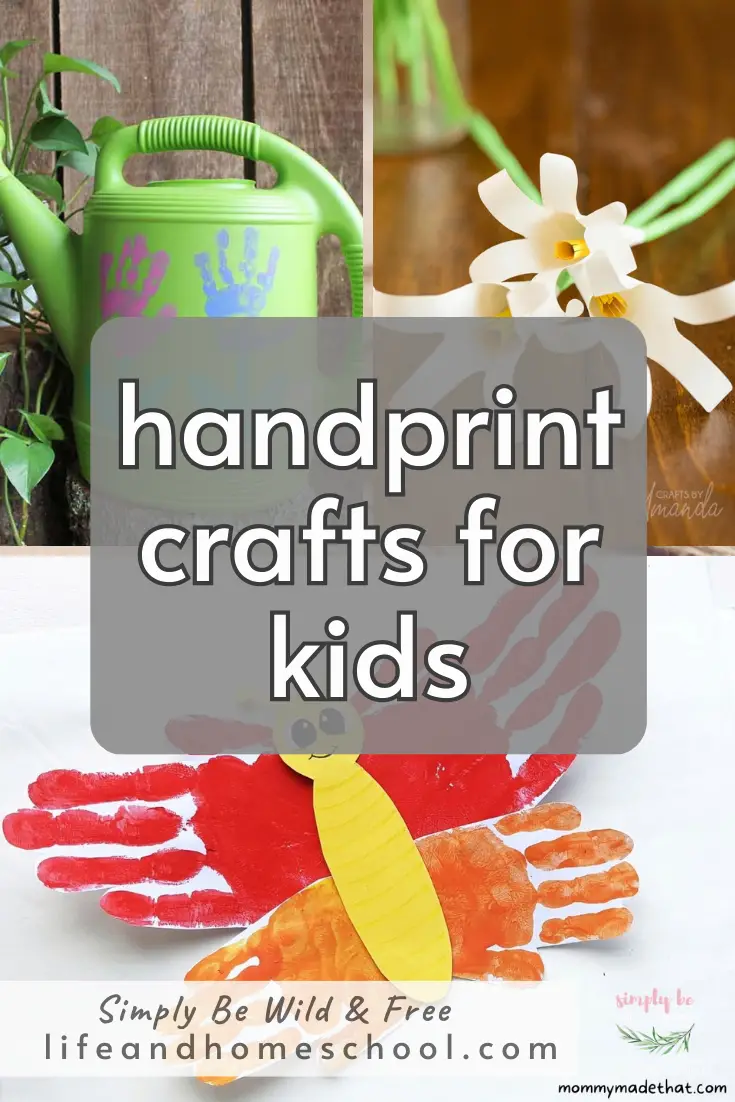
If you loved this simple tutorial on painting a rainbow, I encourage you to check out all the fun ideas on our kid’s activities page!
From seasonal coloring pages and printable templates to handprint crafts and more!
Happy crafting, you guys!
